Sealcoating and Its Benefits

sealcoating

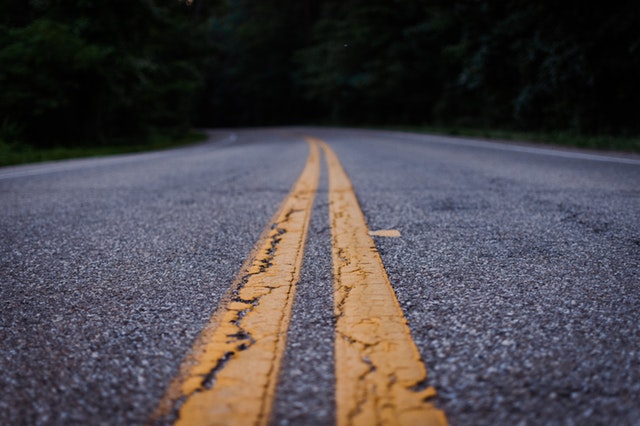
Sealcoating is also known as pavement sealing. It is usually a process of applying to the asphalt based pavement a better and protective coating. This is usually cone to protect the pavements from so many things such as water, oils and of course ultraviolet ray damages.

Benefits of Sealcoating

You might be wondering, what exactly are the benefits of using these seal coatings. Well they have a number of benefits which include:

• It extends the life of your asphalt based pavements.

• It can be used in the reduction of friction. It also helps in reducing the anti-skid properties which are all associated with naked aggregates on an asphalt floor.

Other things you need to know is, it is used in maintaining the binder as this is very essential when it comes in prolonging asphalt surfaces from unwanted deterioration. Why this is important is because when rain, sun rays and also chemicals tend to touch asphalts, they begin to degrade the binder and thus causes the general degradation process of the asphalt.

If a measure to stop this isn’t implemented, then it will most likely continue and therefore Create a brittle surface. This is why it is used in lots of drive-ins and parking lots as it gives them a longer lifespan.

Sealcoating tends to provide a protective layer, keeping the asphalt from all these unwanted damages and when applied properly according to the instructions and specifications, seal coating helps in providing a slip resistant surface which beautifies the environment such as the parking lot with its beautiful black finish.

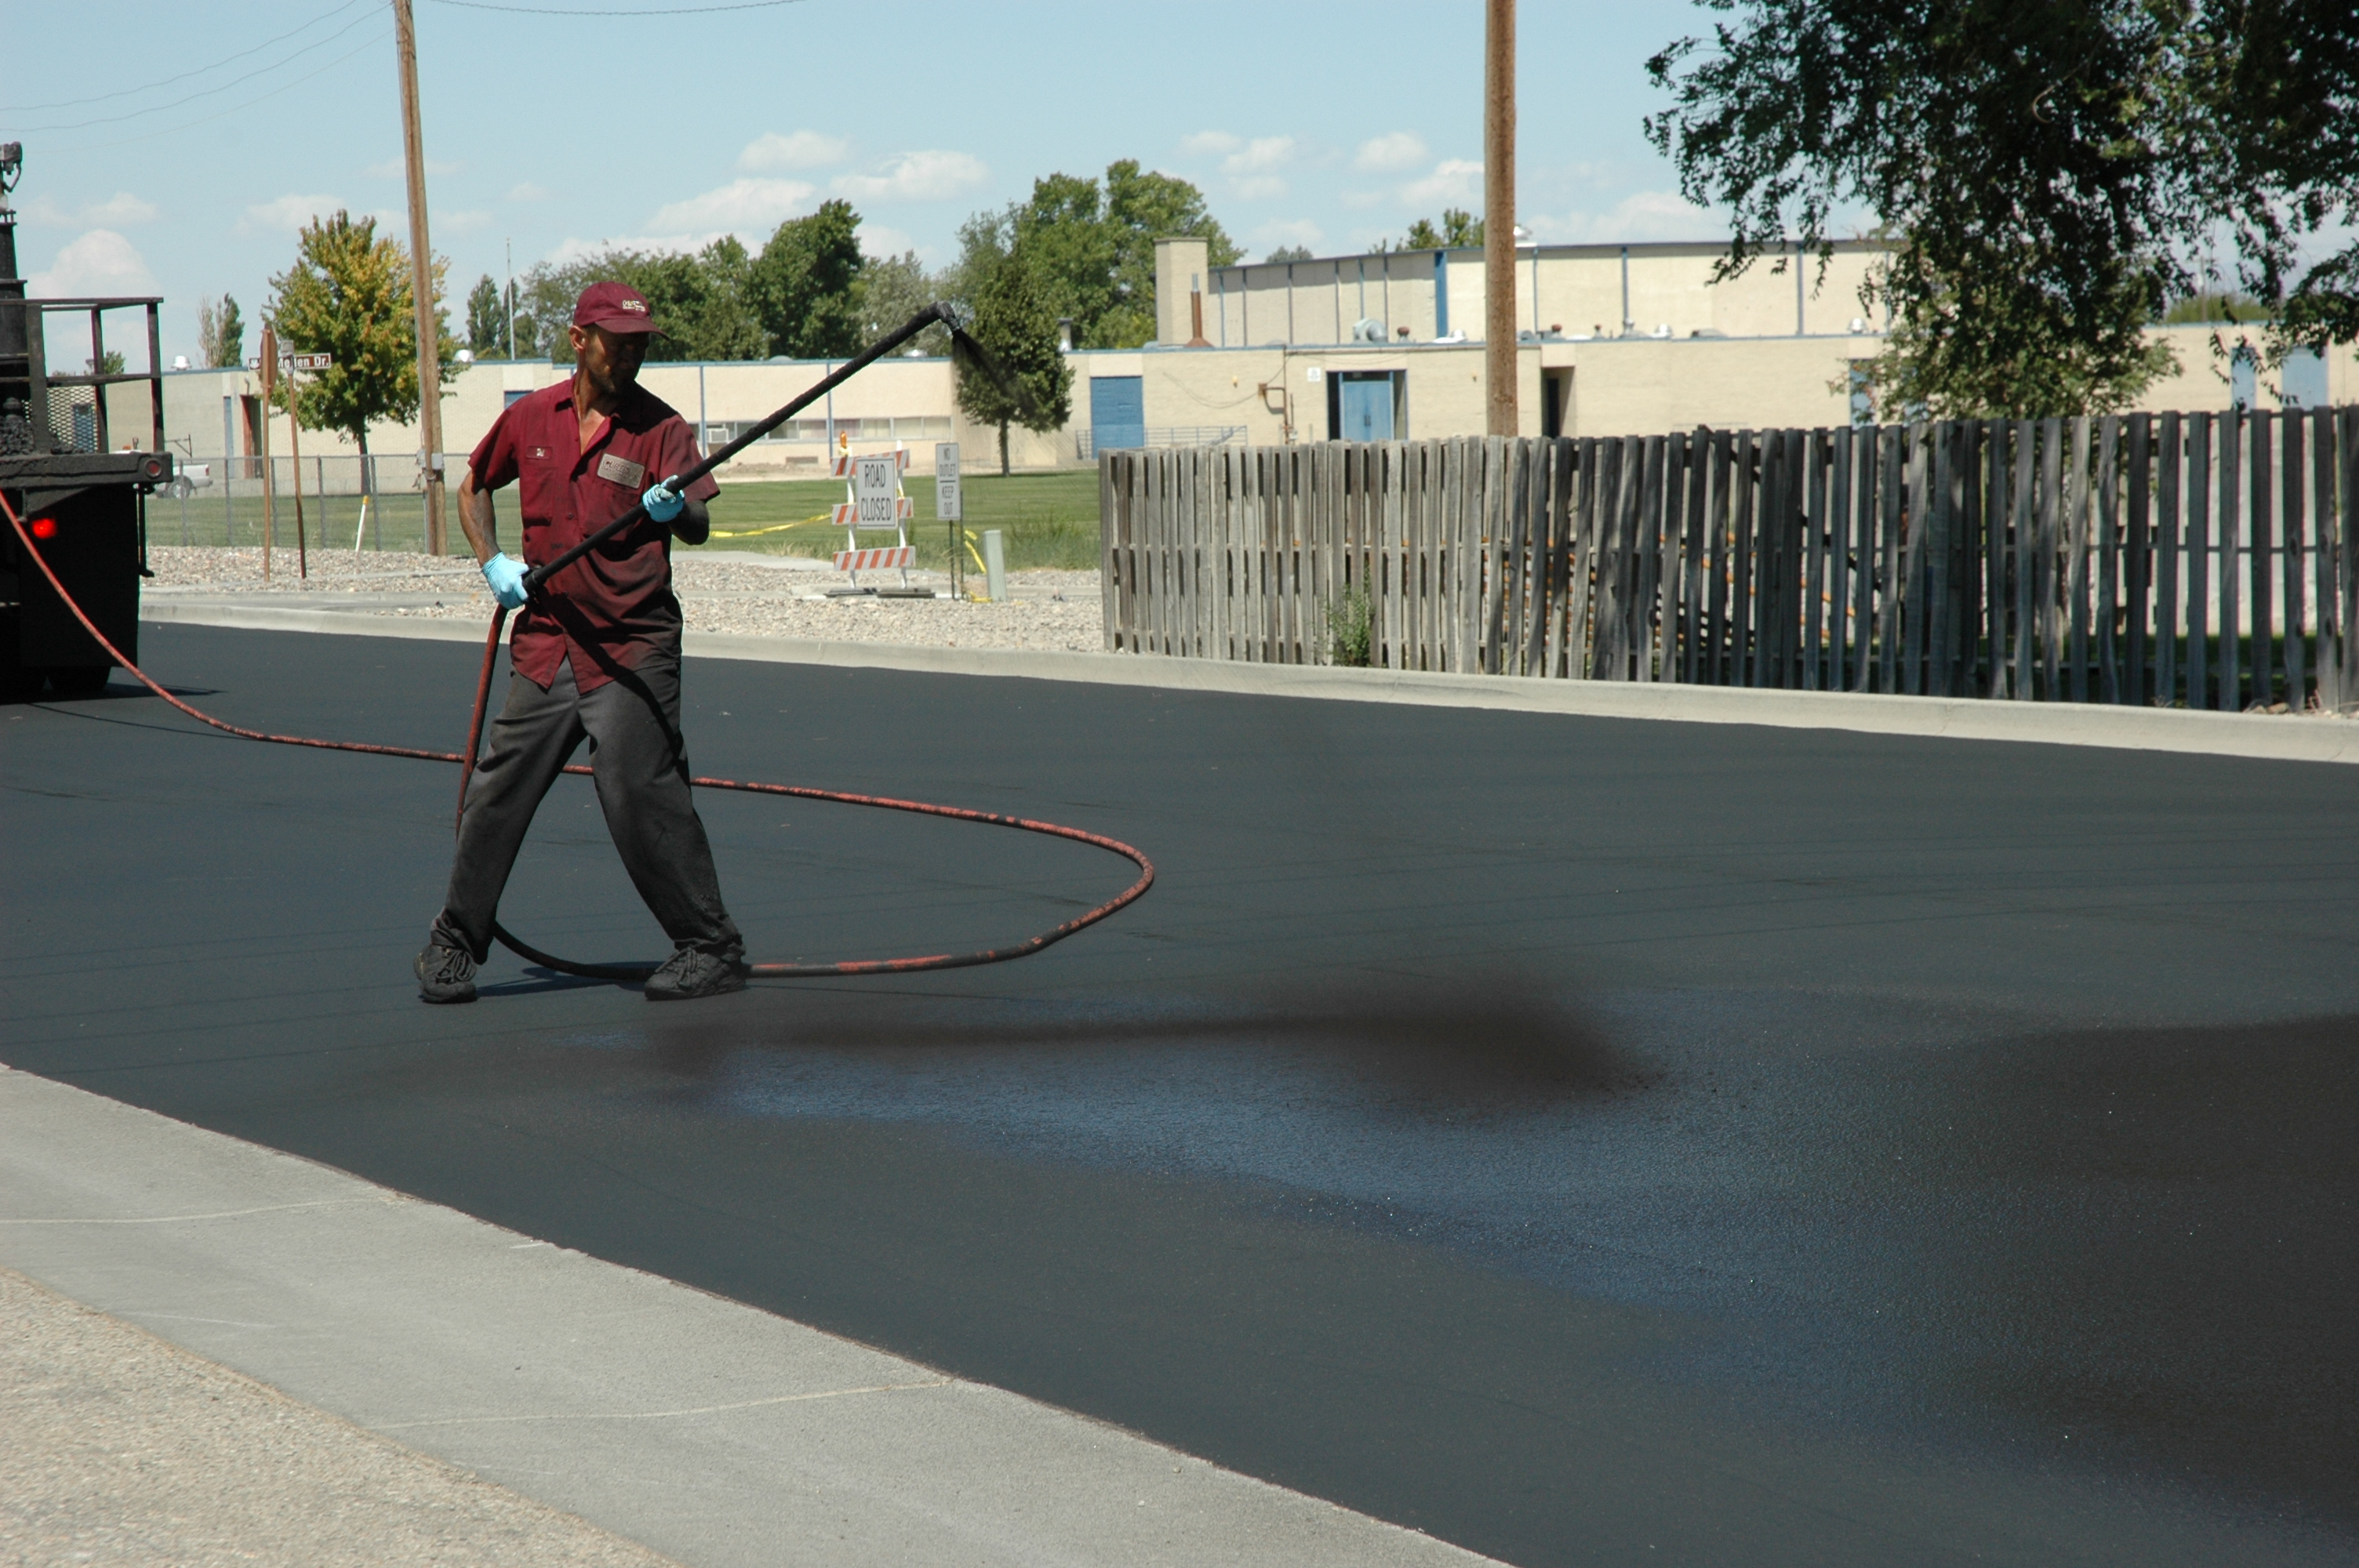
These seal coats are usually bituminous based or even acrylics and they are a liquid formulation which is mixed with water, polymer additives, silica sand and of course, other primary fillers as well as solids. Sealcoats are usually produced by brushes, squeegee or sprays.

When a Sealcoat session is concerned, it tends to make the asphalt last more than double it’s required time and this can save you quite a lot of money down the line. This is because you do not have to spend a lot of money in getting yourself or new pavement.

When it comes to applying seal coating products, there are steps Which are necessary and you need to take note of in order to get the full benefit and get the most protection.

• When applying, Know a single coat isn’t enough and a minimum of 2 coats should be applied.
• The temperature should be nothing less than 50 degrees and should have a rising time of no more thanks. Avoid applying when the temperature tends to be lower than this 50 degrees.
• Do not apply if rain has been persistent within the past 24 hours.
• One of your application is over, then you have to allow it to cure for over 24 hours before any movement can be made on it.

Conclusion

In conclusion, if you seal coat every 2-3 years, it would most likely extend the life of your asphalt pavements without much hassle. You would not have to worry about oxidation, weather damage, etc and a bonus is, it makes the environment beautiful and attractive.

Continue Reading

Asphalt driveways repairs

Asphalt driveways repairs

Sometimes, asphalt driveways start to develop the cracks and can be damaged as time goes on. If you want your asphalt driveway to last for a long time, it won’t be a bad idea to have it cleaned, repaired, as well as sealed as a few years go by.

If you want to have your asphalt driveway repaired, it is important to do it in the warm weather because that is when the sealer and repair material can easily dry out quickly. Try to have every hole and crack filled to prevent the rainwater from seeping in the asphalt.

To have the asphalt repaired, as well as sealed, do the following:

Try and have the driveway edged before you rid it of dirt or grass. You should ensure that every dirt is removed.

It is vital that the driveway can drain well to prevent the rainwater from pooling on it. Once the draining is done, the asphalt driveway will last for a longer time. Something that makes asphalt driveway wear off quickly is when it can’t drain well. Let’s say rain falls, instead of it draining off the the driveway, it stays there, and wears it off, creating tiny potholes.

Have the surface cleaned, and what ever cracks seen should be wiped with the pressure washer. The cracks have to be wiped to ensure that they work well. Imagine trying to renovate a driveway that has dirt sitting inside the holes, whatever you try to do would definitely not work.

Make use of the stiff broom to rid the ground of debris or dirt. If you want it to work well, try and remove every dirt from the ground.

Then ensure that the surface is dried.Before you continue, that asphalt paving driveway must be dry to carry out the repairs.

Make use of the cold set asphalt repair patch to have holes and cracks filled. This can get a lot of work done.

You can have the tiny cracks filled using the asphalt crack repair material in even a bottle applicator.

Have the tiny coat of the paste patch material applied in the pitted surfaces. This will ensure that it will set well.

Have the oil spot primer applied to the oil stains on the ground to ensure that the sealers get adhered well.

Ensure that the patching material sets quickly.

After that, opt for drill attachment to easily ensure that the sealer gets stirred well.

Have the sealer applied on the driveway from the beginning to the end. When done, try and have it spread out using a squeegee.

When you are done, leave the sealer to dry for at least six hours. When done, apply the second coat. Ensure that the second round of coat is distributed evenly. This will ensure that it is durable.

Before you drive on the driveway, ensure that it dries for two days or so. Do not drive on the driveway, until it has set and dried out well. This is to ensure that it lasts for a long time.

Continue Reading

STEPS ON STAINING CONCRETE ALL BY YOURSELF

Concrete Staining

One of the ways in which people attempt to bring life into their concrete at home is through staining concrete. This is especially true if your home or environment is guilty of having a dull surface.While the staining concrete process may take a little over 48 hours to complete, it is a process which is not overly expensive and which can be done correctly with a bit of guidance. If you are interested in staining concrete either by yourself or using specialized assistance, here are some things or steps which you would have to follow;

•   MATERIALS YOU ARE GOING TO NEED:

the first thing that you would have to get are the materials which are going to be needed for the job. There are a lot of materials which would be needed to make the goal of staining concrete possible. They include a concrete stripper, sealer, stain, gloves, scrub brush, mask, neutralizer, concrete cleaner, buckets preferably plastic, etching solution and so much more. Once you have been able to get the materials together and ready to go, you are ready for the next step.

•   DEALING WITH THE SURFACE:

due to the fact that stains which are made from acid are considered to be translucent, you might need to prepare the surface before staining concrete. Another reason why this is necessary is to make sure that the residue which may be on the surface would rear its ugly head when the staining concrete has been finished successfully. It is important to note that the surface reparation can be completed in two ways. This can be achieved through a mechanical grinding process or through the use of a cleaner which has been formulated especially for this purpose.

•   APPLICATION OF THE CONCRETE STAIN after the surface has been prepared properly, the next step would be to apply the stained concrete. If you wish to protect nearby areas which may be affected, you can choose to mask off those areas. You should try to dilute the paint next with water as this would make it lighter. You should brush the stain after you have first applied it. This is to allow it to settle down properly. You should then allow it to dry properly.

•   THE CLEANUP PROCESS:

the next step would be the cleanup process. You can choose to rinse out the concrete with clean new water. Next, you can set out to neutralize the stain which you have created. This can be done using baking soda. However, it is important to note that it is only to be done when the paint is acidic in nature.

•   PROTECTIVE COAT:

the last step would be to ensure that a protective coat should be placed on it to seal it and also to increase its durability. This would be the last step and once this is done the stained concrete is ready.

You can also get a professional to do the hard work for you but a little knowledge could come in handy at some point,

Continue Reading